Moving on from setting up and using a lapel microphone - which is great for set-piece interview situations - I now want to look at a couple of microphones that are ideal for fast-moving and minimal kit shoots (or 'run and gun' situations, as they are known).
An area of videography that interests me is the documenting of events, like conventions and festivals. These can be very challenging for the lone filmmaker as you have to minimise the amount of equipment that you are carrying so that you are mobile and responsive to the events around you - and bear in mind that you will likely working in the midst of crowds of people - but, at the same time, you have to carry the right equipment to capture what you need. A tricky juggling act.
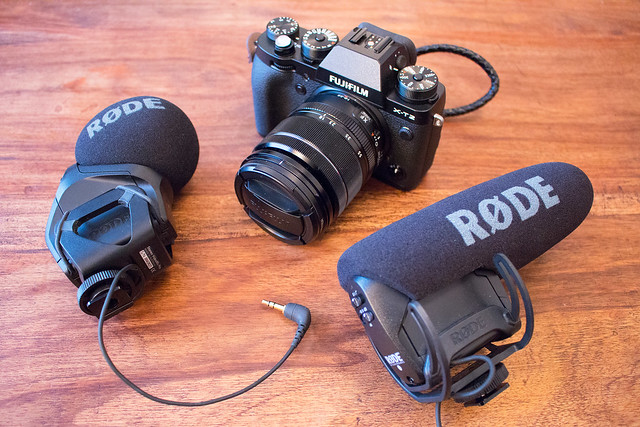
Event and convention work can incorporate two quite different formats of filming, the capture of general ambience and the more focused interview. Trying to do this with, more or less the same kit (as you don't want to be continually unpacking and setting up new kit), is possible thanks to excellent quality compact gear like the Rode VideoMic series of microphones.
These mics are camera mounted - via the hotshoe - and are light-weight but have become something of an industry standard among DSLR/mirroless camera videographers.
The Rode Stereo VideoMic Pro
The stereo mic, as you can imagine, is (to quote Rode themselves) 'ideal for recording music, and the atmospheric ambience essential in building a realistic audio scene.' In other words, the SVMP is good at sucking in the atmosphere of a scene, giving your audience a sense of the excitement of a dynamic event.
This is very well illustrated by this video review of the SVMP which was done by Fenchel & Janisch...
The Rode VideoMic Pro
While the SVMP is all about the general audio scene-setting, the VideoMic Pro is a more focused 'shotgun' type of microphone designed to capture a specific sound from a specific spot (like interview dialogue). While you can - as the above video illustrates - 'do' interviews with the SVMP (thus getting away with just the one mic) you have to be really close to your subject to get good quality dialogue, but you still pick up lots of incidental sound as well. The VMP is designed to cut out (or, at least, minimise) this incidental sound.
He's a little review of the VMP, along with an
As with the setup of the Lavalier mic & iRig Pre-Amp - which I covered in my previous post - there is a trick to getting the best quality sound and that is to minimise the in-camera recording volume while, at the same time, turning up the mic's 'boost' to enhance the signal. In effect, the VMP's built-in +20db 'boost' setting is doing the same job as the iRig Pre-Amp did with the Rode Lavalier microphone.
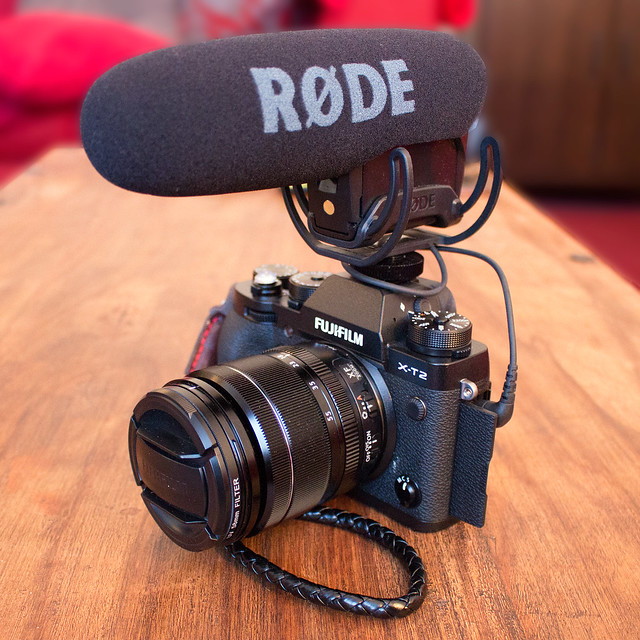
Here's an example of my set-up for the VMP, showing the quality of the sound in it's 'raw' format (straight from the mic and camera) and also an example of the same setup but with the audio further enhanced in 'post' (using Audacity software)...
Notes on audio test video
The above video sample was made under the following conditions and with these settings:
• Distance from camera/mic to subject: 5 feet
• Rode VMP boost setting: +20db
• Fuji X-T2 internal audio level setting: 5
I find that 5 feet - or less - is roughly the optimal distance from camera to subject when using the Rode VMP. Also, for the best result in combination with your DSLR/mirrorless, you have to apply the +20db boost if you want an acceptable volume level to play with in your edit.
The quality of the recording via the VMP is, in my opinion, a tiny bit 'tinny' and even with the cameras audio levels reduced down to 5 (25%), there is some noticeable hiss - as you can hear in the first half of the sample. (I have knocked out the hiss in the second half, using Audacity.)
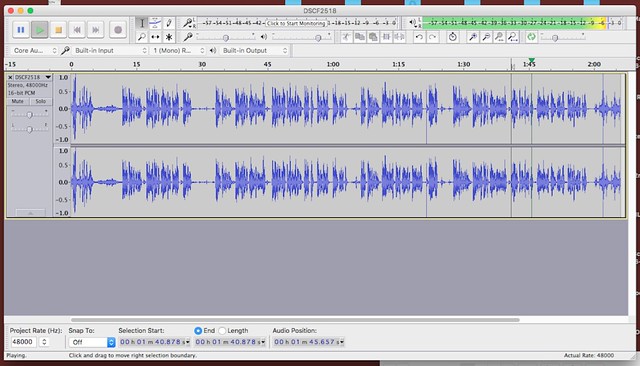 |
| I undertook some very rudimentary sound editing in Audacity. I am told that the ideal audio level from a recording should top out at about -6 to -3db top. You can see the db level top right of this screen, and my max recording level is just going into this range (yellow/orange). |
Still, while the result was not as good as the recording that I got from the Rode Lavalier mic, it is adequate - especially when you consider the convenience of having an all in one camera/mic package. This is ideal for a run and gun video shoot as you have no detached mics or wires (or wireless packs) to worry about or set up. You just frame your subject and go!
I'd also say that it is very much an improvement over the cameras feeble built-in microphone. It's also a terrific way to get a reasonable quality audio recording backup even if you are using a separate mic/sound recorder setup.
Which brings us to the subject of my next posting in this series - setting up and testing an external audio recorder (which is thpreferreded choise of many videographers).
No comments:
Post a Comment